Have you ever listened to a podcast where you cranked the volume to maximum just to follow the host — only to get blasted when the next episode started? Or recorded a conversation that was perfect in content but so quiet that virtually no one could hear it?
These are the most common audio volume problems, and they have a straightforward fix: normalization and amplification. In this complete guide, you will understand the difference between the two techniques, when to use each one, how to apply them professionally — all for free, right in your browser, with nothing to install.
Why Audio Volume Matters More Than You Think
Audio volume is not merely a comfort issue — it directly impacts the credibility of your content, the listener experience, and even your performance on digital platforms.
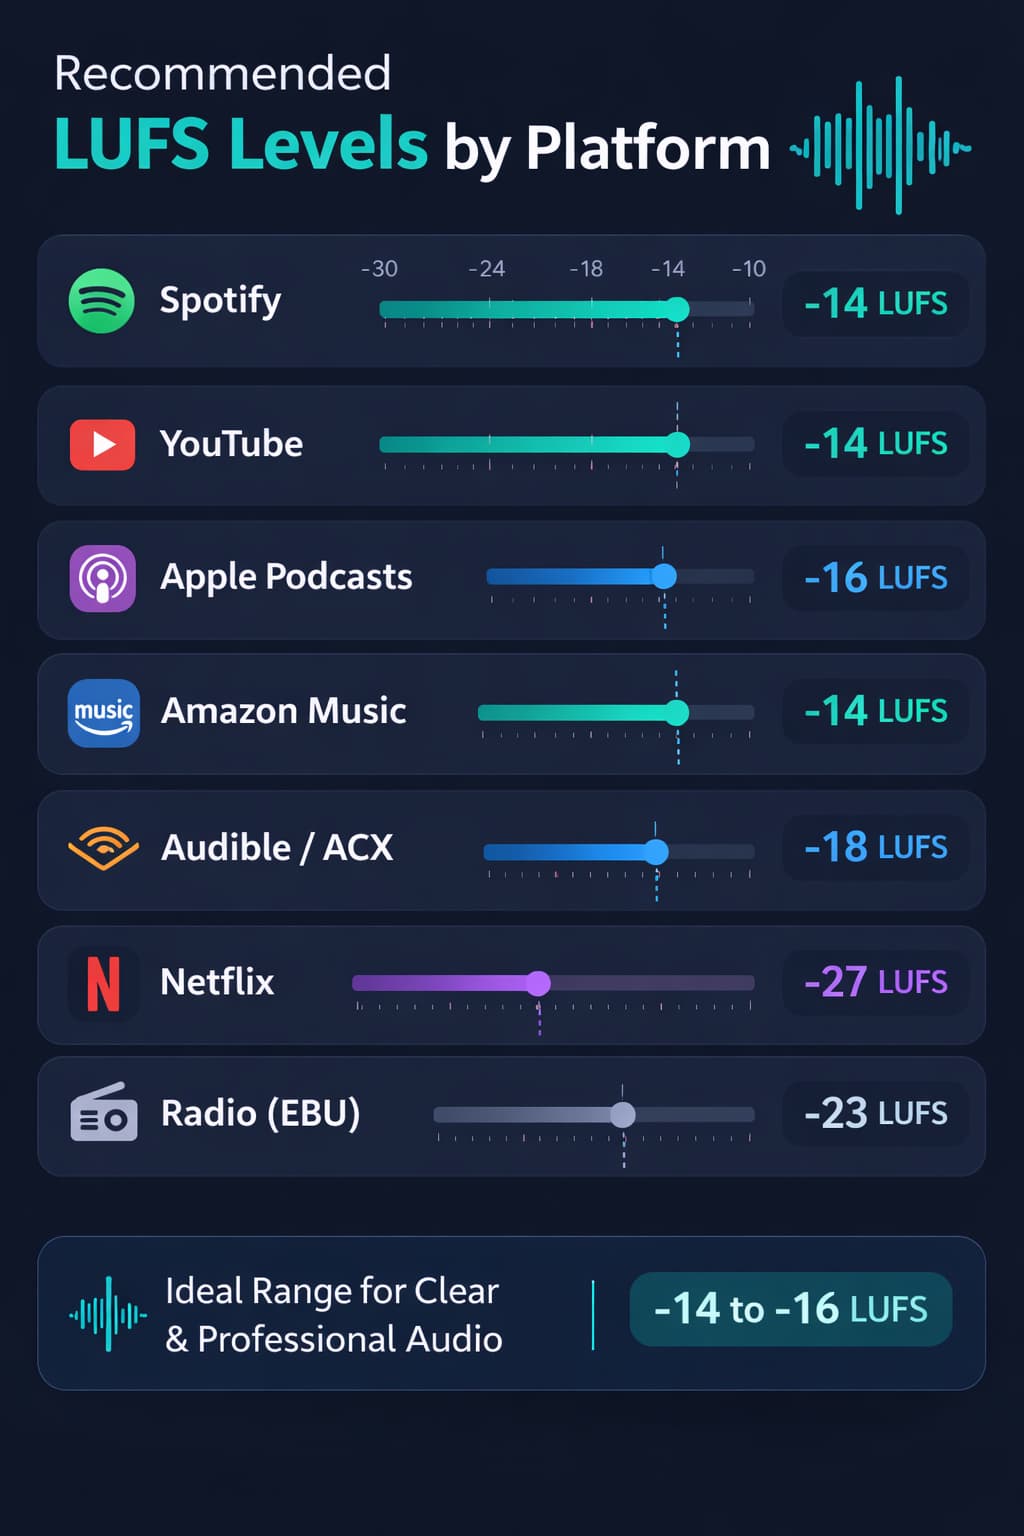
Playback services may apply their own loudness processing, and their behavior can change by product, device, and listening mode. Treat the destination's current official delivery specification as the source of truth instead of mastering to a number copied from an old comparison table.
From the listener's perspective, poorly adjusted volume creates three serious problems:
- Listening fatigue: The listener has to strain to understand the content and gives up sooner.
- Broken immersion: Volume jumps between episodes or tracks shatter the continuity of the listening experience.
- Harder quality control: inconsistent levels make comparisons between episodes, clips, or lessons less reliable.
Fixing volume is one of the post-production interventions with the highest return on time invested. In minutes, you can transform an amateur-sounding recording into something that sounds truly professional.
Amplification vs. Normalization: What Is the Difference?
Many content creators use "amplify" and "normalize" interchangeably. In practice, they are different techniques with distinct goals. Understanding this distinction is fundamental to choosing the right approach for every situation.
What Is Amplification?
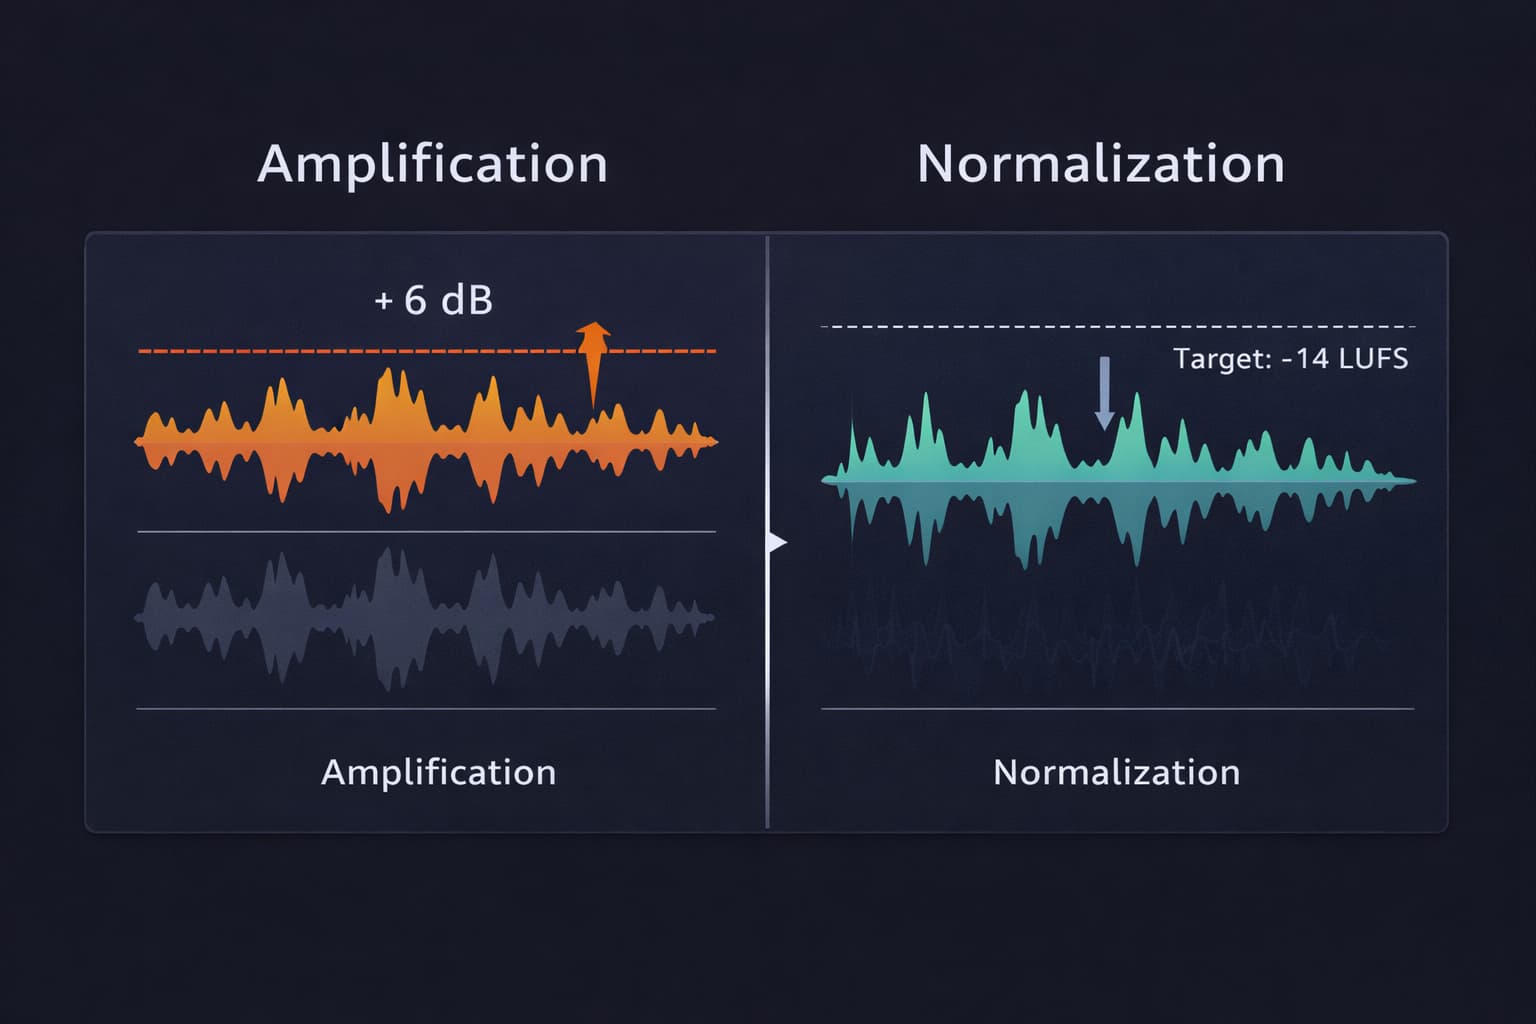
Amplification is the process of raising or lowering the volume of an entire file by a fixed amount, expressed in decibels (dB). If you amplify a file by +6 dB, every part of it becomes 6 dB louder — the quiet sections, the mid-level sections, and the loud peaks are all raised equally.
It is the right tool when you know exactly how much you need to adjust and want complete control over the result. For example: if you recorded a podcast and know the volume is 4 dB below the ideal level, you apply +4 dB of amplification and you are done.
Watch out for clipping: If the file already has peaks close to 0 dBFS and you amplify beyond that, the audio will "clip" — meaning it will distort irreversibly in the loudest sections. Always check your peaks before amplifying.
What Is Normalization?
Peak normalization is an automatic level-scaling process: the software analyzes the entire file, identifies the loudest peak, and adjusts the overall volume so that peak lands exactly at your chosen target level — without exceeding it.
For example: if you set normalization to -1 dBFS, the software finds the loudest peak in the file and scales everything proportionally so that peak sits at -1 dBFS. This creates a predictable sample-peak margin. It does not guarantee equal perceived loudness or prevent true peaks introduced by later encoding.
There are two main types of normalization:
- Peak Normalization: Targets the loudest single peak in the file. Fast and straightforward, but does not account for how audio is perceived by the human ear over time.
- LUFS Normalization (Loudness Normalization): Targets integrated loudness — the subjective perception of volume over the full duration of the file. This is useful when a broadcaster, distributor, or other delivery specification requires it. Audio-Editor Online does not calculate or target LUFS.
What Is LUFS and Why Does It Matter for Your Content?
LUFS (Loudness Units relative to Full Scale) is the unit for measuring integrated loudness — how audio volume is perceived by the human ear over time, rather than just the instantaneous peak level.
It is used in broadcast and many delivery workflows. The table below distinguishes the measurements instead of publishing platform targets that may change:
| Measurement | What it tells you |
|---|---|
| Sample peak (dBFS) | The highest decoded sample; used by this editor's -1 dBFS normalization |
| True peak (dBTP) | An estimate of inter-sample peaks; requires a dedicated external meter |
| Integrated loudness (LUFS) | Average perceived loudness across the measured program |
| Short-term loudness | Loudness over a moving window for spotting changes |
| Loudness range (LRA) | An estimate of loudness variation across the program |
How should you use a delivery specification?
Check the destination's current official documentation, measure the complete exported file with a standards-based loudness and true-peak meter, and make any required correction before delivery.
A sample-peak value cannot predict LUFS: two files can share the same peak while sounding very different in overall loudness.
In this editor, use gain cautiously or normalize the sample peak to -1 dBFS. If LUFS or true peak is specified, verify those measurements externally after export.
How to Adjust Audio Volume Online: Step-by-Step
With Audio-Editor Online, the process is straightforward, free, and works in any modern browser — no account required and no extension to install. Device files are processed locally; importing some public cloud links can use a temporary server fallback.
Step 1: Open the tool and upload your file
Go to the audio volume adjustment tool and choose a compatible audio or video file. Actual input support depends on the browser, device, and available decoder; video input uses its first decodable audio track.
Step 2: Analyze the current volume
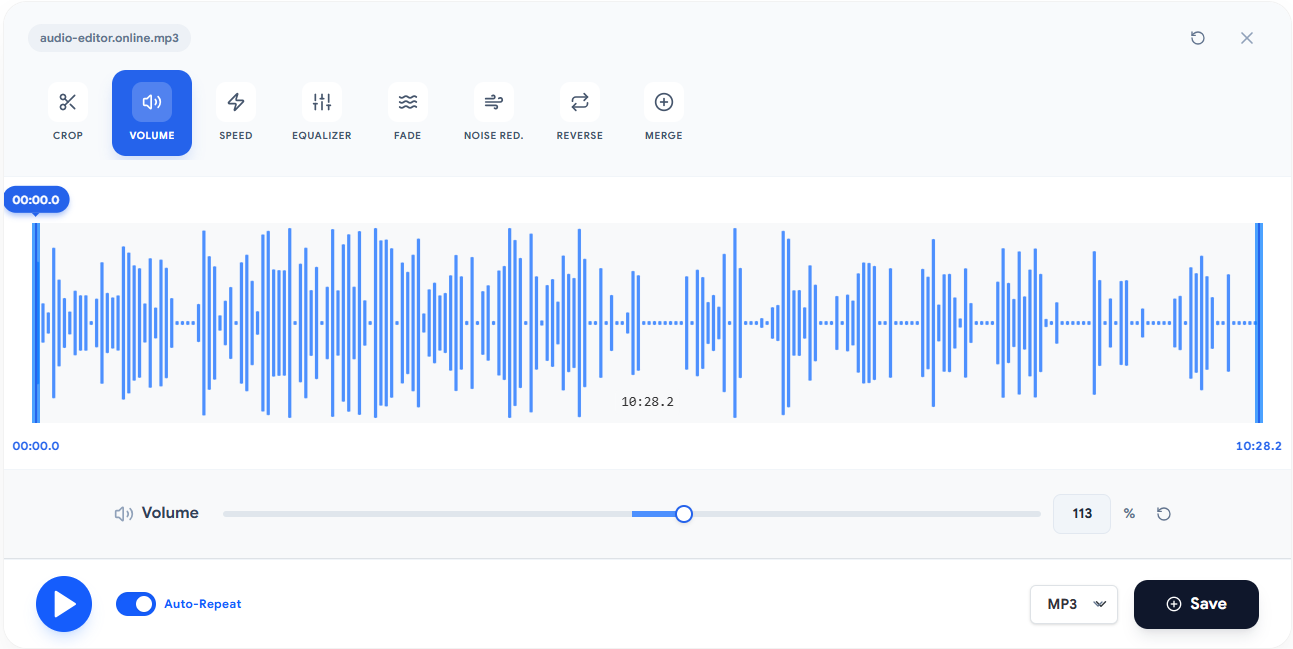
Before making any adjustments, examine the level meter for the loaded file. Identify:
- What is the current peak level (in dBFS)?
- Are there sections with highly inconsistent volume?
- Are there any clearly distorted (clipped) parts?
This analysis will determine which technique to use and how much to adjust.
Step 3: Choose between amplification or normalization
Use amplification when:
- You know exactly how many dB you need to add or remove
- The file volume is consistent, just at the wrong level
- You want a quick, precise adjustment
Use normalization when:
- You want the loudest sample to reach a predictable -1 dBFS ceiling
- You understand that peak normalization does not equalize perceived loudness
Step 4: Apply the adjustment and preview
Set your desired value and play back the result before exporting. Compare it against the original using the toggle buttons. Pay particular attention to the loudest sections — that is where clipping appears first.
Step 5: Export in the right format
Once you are happy with the result, export the file. For maximum quality, use WAV (PCM 16-bit). MP3 and M4A are convenient smaller outputs but are re-encoded with lossy compression; always check the destination's current requirements.
Quick Reference: How Much to Adjust for Each Situation
The table below serves as a quick reference for the most common scenarios:
| Scenario | Recommended technique | Target value |
|---|---|---|
| Predictable sample ceiling | Peak normalization | Fixed -1 dBFS in this editor |
| Small manual correction | Gain | 0–200%; preview before applying |
| One section needs adjustment | Select range + gain | Listen at both boundaries |
| Formal delivery target | External LUFS/true-peak meter | Use the current official specification |
| Further production | Keep headroom | Choose a conservative gain and verify peaks |
Complementary Techniques for Professional-Level Volume
Volume adjustment rarely works best in isolation. Combining it with other processing techniques significantly elevates the final quality.
Dynamic Compression
Compression is the most powerful technique for volume control. It automatically reduces the loudest sections and, optionally, boosts the quietest ones — making the volume much more consistent throughout the entire file. It is especially useful for voice recordings where the speaker varies greatly in intensity.
A well-configured compressor can eliminate the need for manual volume adjustments on specific sections, delivering a far more consistent listening experience from start to finish.
EQ Before Normalization
Before normalizing, it is worth equalizing the audio to cut problematic frequencies — particularly excessive low-end below 80 Hz, which consumes headroom without contributing to vocal intelligibility. Removing those frequencies first frees up dynamic space, letting you normalize more efficiently.
True Peak Limiting
A limiter is an extreme compressor that prevents the signal from exceeding an absolute ceiling. This editor does not provide a true-peak limiter. When a delivery specification requires dBTP control, use a dedicated limiter and meter after exporting from this tool.
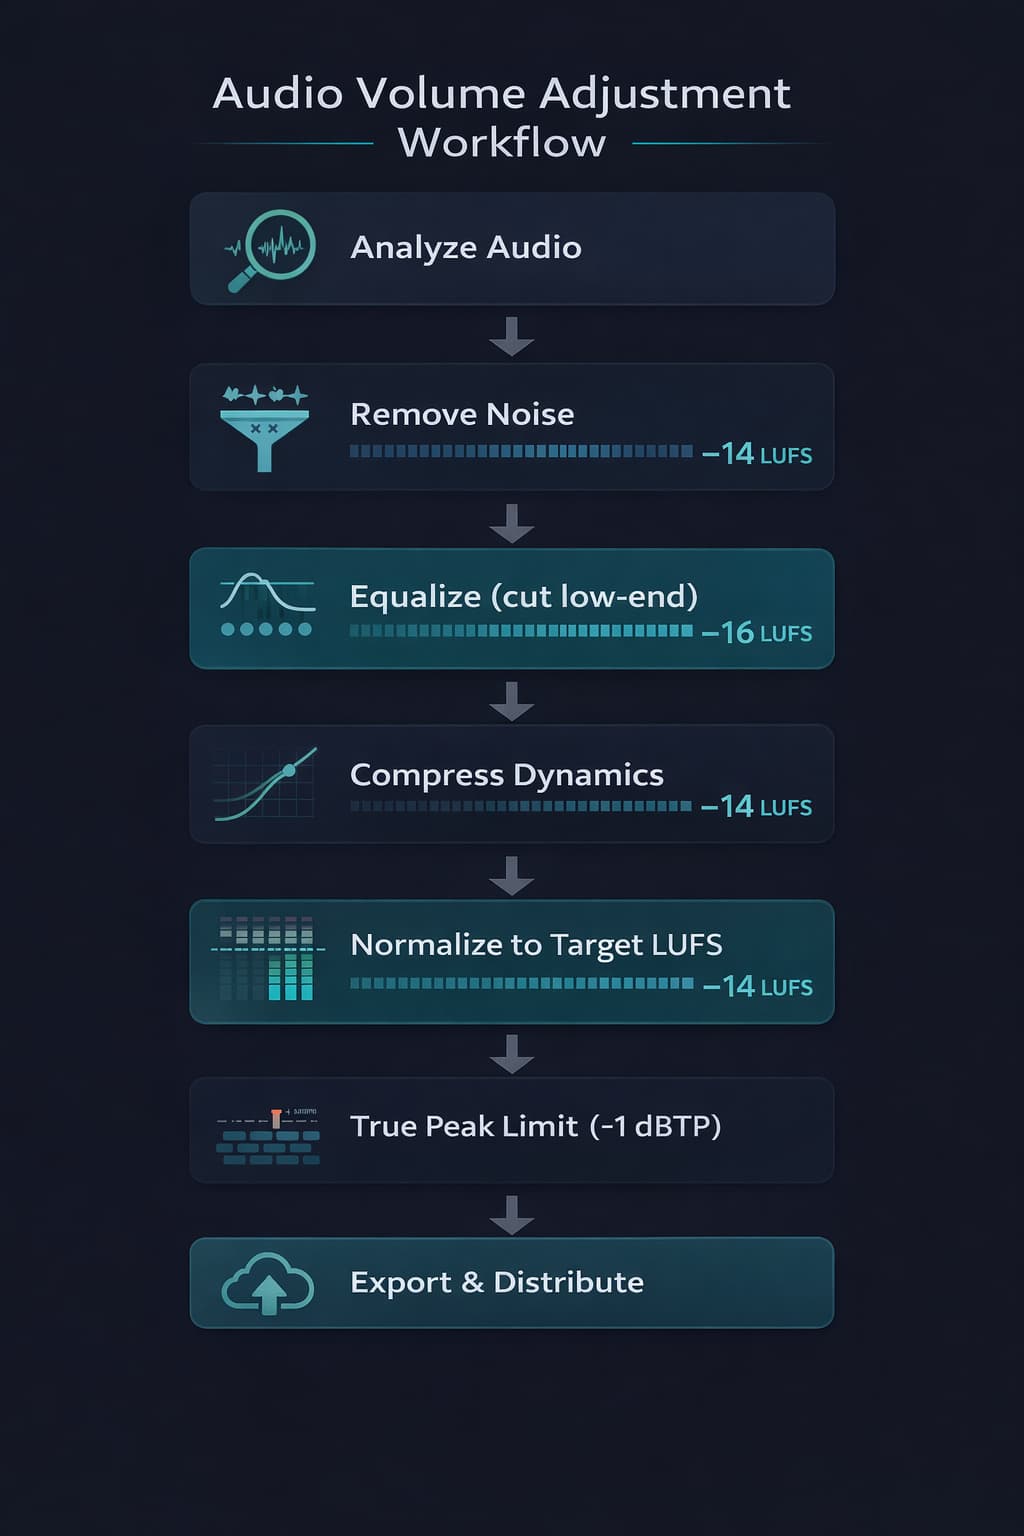
Recommended processing order for voice:
- Noise reduction
- EQ (cut low-end and problem frequencies)
- Dynamic compression
- Sample-peak normalization here, if appropriate
- External LUFS and true-peak verification when required
Real-World Use Cases: When Volume Adjustment Makes All the Difference
Podcasters and Content Creators
It is very common in podcasts with multiple hosts for each microphone to record at different levels. One host speaks close to the mic and sounds loud; another speaks from farther away and sounds quiet. Peak normalization alone does not balance separate voices; compare each source, adjust gain or compression carefully, and measure externally if needed.
Teachers and Online Course Creators
Lessons recorded on different days, with different microphone setups or in different environments often arrive with inconsistent levels. Use the same monitoring setup, compare representative passages, and verify loudness externally across the exported set.
Journalists and Field Reporters
Field recordings made in outdoor environments capture audio at highly variable levels — depending on distance to the source, wind, and background noise. Careful amplification followed by normalization can salvage recordings that seemed unusable.
Independent Musicians
Before submitting tracks for distribution on platforms like Spotify or Apple Music, independent artists should check their distributor's current technical requirements. This editor can adjust gain and sample peaks but is not a mastering or LUFS tool.
Audiobook Producers
Audiobook distributors can specify loudness, peak, noise-floor, file, and chapter rules. Confirm the current requirements and validate with dedicated metering before submission.
Common Volume Adjustment Mistakes (and How to Avoid Them)
Mistake 1: Amplifying beyond 0 dBFS
The classic blunder. When amplifying, if any section was already close to 0 dBFS, it will exceed the ceiling and distort — the dreaded digital clipping. Always check your peaks before amplifying and keep a safety margin of at least 1 dB.
Mistake 2: Normalizing without considering the destination platform
Sample-peak normalization to -1 dBFS is different from LUFS normalization. This editor performs the former; a formal loudness target must be measured in another tool.
Mistake 3: Ignoring consistency across files
If you have multiple episodes or tracks, normalizing each one independently can create subtle inconsistencies because their dynamics differ. Compare the complete exports under the same monitoring conditions and use a loudness meter when consistency is contractual.
Mistake 4: Not checking on multiple devices
Audio that sounds great on studio headphones can sound very different through computer speakers or a phone's built-in speaker. Always test the result on at least two or three devices before publishing.
Mistake 5: Skipping compression before normalization
Normalizing audio with a very wide dynamic range (very quiet and very loud sections) without compressing first can result in a file where the peaks are controlled, but the quiet sections still sound muffled. Compressing before normalizing evens out the dynamics and delivers a far more consistent end result.
Frequently Asked Questions (FAQ)
What is the difference between dB and LUFS?
dB (decibel) is a generic measure of sound intensity. dBFS (decibels relative to Full Scale) measures the peak level of a digital file — 0 dBFS is the maximum before distortion. LUFS measures integrated loudness, or how volume is perceived by the human ear over time. This editor displays and normalizes sample peaks; LUFS requires an external standards-based meter.
Can I normalize an MP3 without losing quality?
Editing and exporting MP3 normally causes a new lossy encode, so the result is not bit-perfect. Keep a lossless source when possible and make the delivery MP3 last.
Does the tool handle large files?
Capacity depends on duration, channels, sample rate, codec, browser, and available device memory. Large compressed files can expand substantially when decoded.
Can I adjust the volume of just one section?
Yes. In the audio editor, you can select a specific section of the waveform and apply a volume adjustment only to that interval — leaving the rest of the file completely untouched.
Conclusion
Audio-Editor Online provides focused gain control and sample-peak normalization with a waveform preview. Use it for quick corrections, then verify LUFS, true peak, and destination-specific requirements with dedicated tools when the job calls for them.
Keep learning
Related guides that continue the same editing workflow.