LUFS Audio Volume Guide for Podcasts, Videos, Lessons and Music
LUFS is one of the most reliable ways to answer a simple question: how loud does this audio feel to the listener? It is more useful than looking only at waveform peaks because it considers perceived loudness over time.
This guide is for creators publishing podcasts, lessons, videos, interviews, narration, music demos and social clips. Audio-Editor Online does not measure or target LUFS or true peak: it normalizes sample peak to -1 dBFS. Use a standards-based external meter for the workflow below and verify the destination's current official specification.
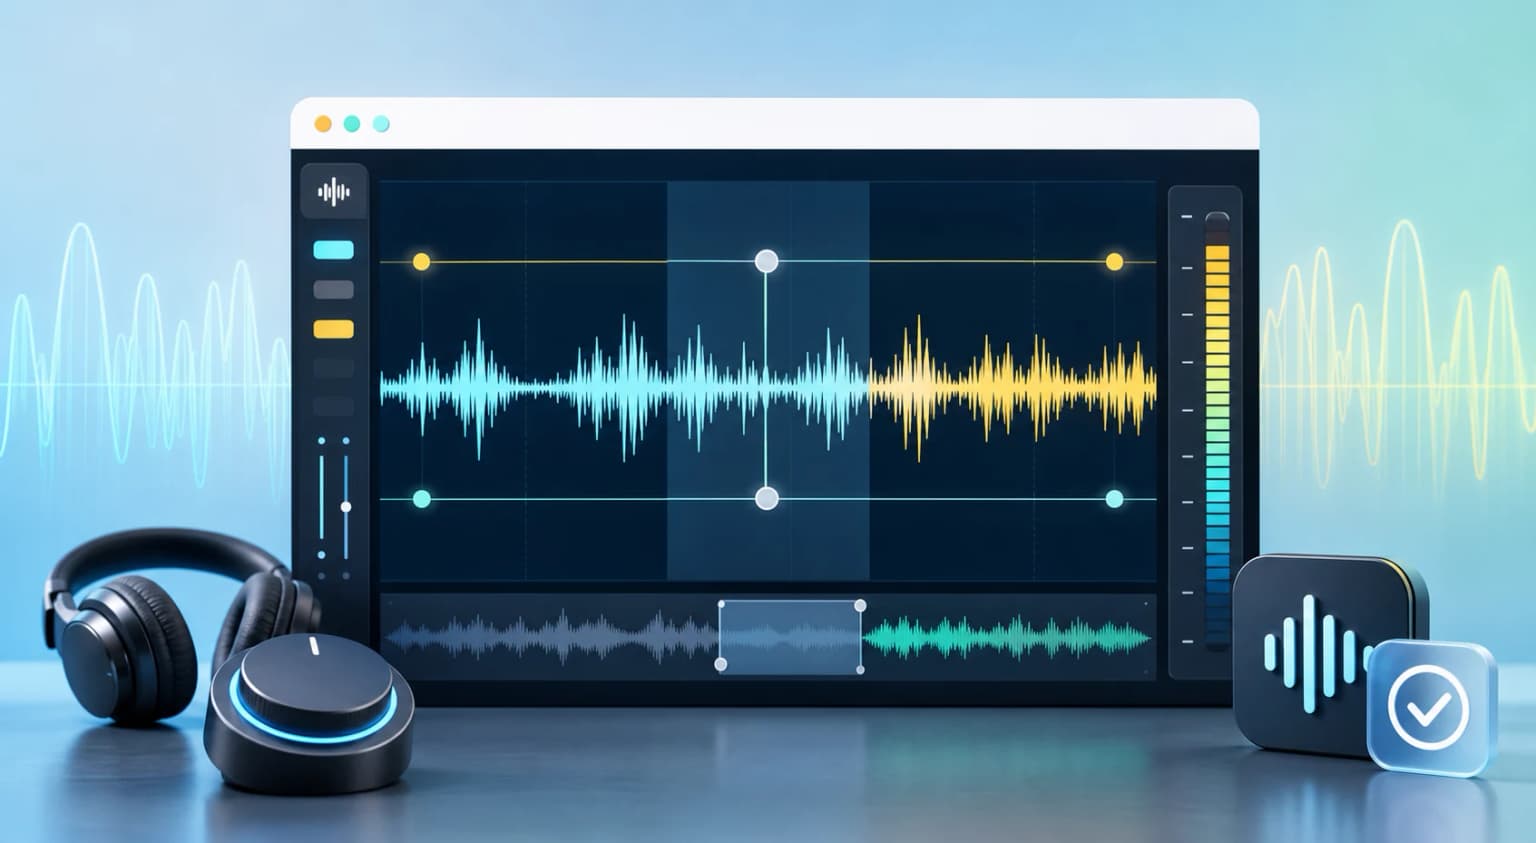
Quick reference
- Podcast voice: around -16 LUFS stereo or -19 LUFS mono
- YouTube and general web video: start around -14 LUFS
- Online lessons and tutorials: between -16 and -14 LUFS, prioritizing clarity
- Music demos: preserve dynamics and control true peak before forcing loudness
- Broadcast-style delivery: EBU R 128 uses -23 LUFS as a programme loudness reference
What LUFS means in practice
LUFS stands for Loudness Units relative to Full Scale. In simple terms, it estimates perceived volume in digital audio. Two files can both peak at -1 dBFS, but one may feel much louder because it has less dynamic range, heavier compression or more forward speech.
That is why LUFS is useful for publishing. It helps avoid three common problems: audio that sounds too quiet beside other content, audio that becomes tiring, and aggressive platform normalization after upload.
Integrated, short-term and momentary LUFS
When someone says “my file is -16 LUFS,” they usually mean integrated LUFS, the average loudness across the whole program. It is the most useful value for deciding the final target for a podcast, video or lesson.
Short-term LUFS looks at smaller windows and shows whether one section is too loud or too quiet. Momentary LUFS reacts faster and helps reveal sudden jumps. For most creators, the practical combination is to use integrated LUFS as the final target and listen to critical sections for uneven speech.
Why true peak matters with LUFS
LUFS does not replace peak control. A file can sit at -16 LUFS and still distort if its peaks cross the limit during compression, MP3/AAC conversion or platform processing. True peak exists to reduce that risk.
As a conservative rule, avoid exporting final audio pressed against 0 dB. For spoken content, leaving peak headroom is usually safer than chasing the last half decibel. If the source is already clipped, step back: reduce gain, clean the recording and normalize only after the problem is under control.
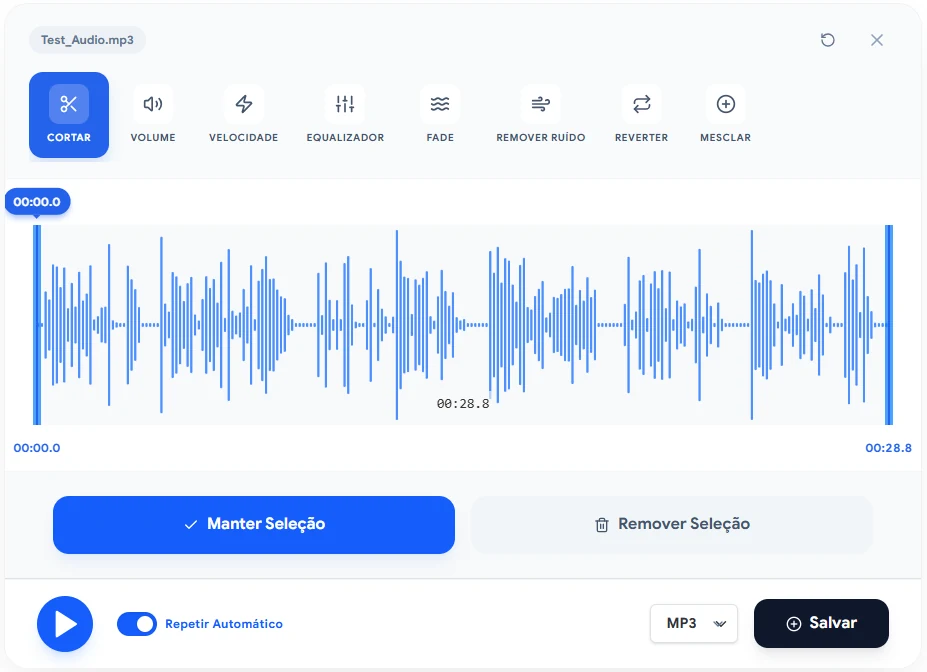
Which loudness target should you choose?
| Use case | Starting target | Practical adjustment |
|---|---|---|
| Stereo podcast | -16 LUFS | Balanced for speech, intro music and low background beds. |
| Mono podcast | -19 LUFS | Accounts for perceived differences between mono and stereo. |
| YouTube and web video | -14 LUFS | Safe starting point for speech, tutorials and mixed content. |
| Online lesson | -16 to -14 LUFS | Speech clarity matters more than maximum loudness. |
| Music demo | Depends on style | Avoid clipping and protect dynamics before competing for level. |
A practical workflow for preparing audio
- Choose a 30 to 60 second sample with normal speech, a loud moment, a pause and any background music.
- Remove obvious mistakes and long silences before measuring loudness.
- If there is hiss, hum or steady room noise, fix that before raising level. See the audio noise reduction guide.
- Use light EQ if the voice is muddy, nasal or harsh. The audio equalization guide explains useful frequency ranges.
- Normalize to a conservative target and listen on headphones, laptop speakers and a phone speaker.
- Export a final copy and keep the original file untouched for future edits.
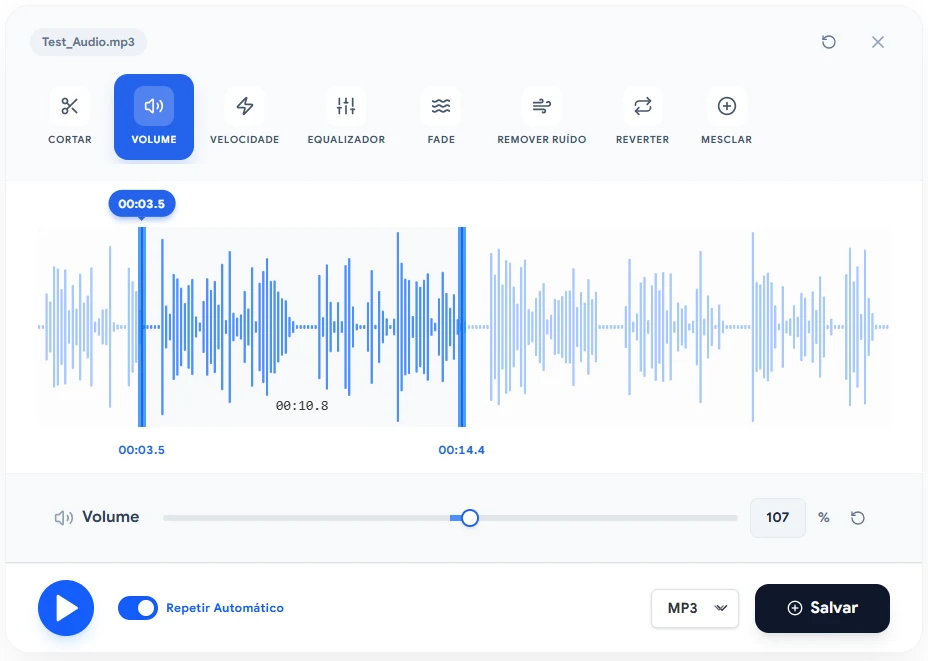
What LUFS cannot fix
LUFS cannot rescue a bad recording. If the microphone was too far away, the room had echo, the file clipped or the background noise is high, normalization will only make those problems more obvious. Start with the recording diagnosis first.
It is also important not to confuse normalization with dynamic compression. Normalization adjusts the overall level. Compression reduces the distance between quiet and loud parts. A podcast may need both, but they are separate steps and both require listening.
Common mistakes when targeting LUFS
- Forcing -14 LUFS everywhere: useful for some videos, excessive or wrong for other contexts.
- Ignoring true peak: can cause distortion after export or upload.
- Normalizing before cleanup: raises noise, breaths and desk bumps along with the voice.
- Exporting many MP3 passes: each recompression can degrade the file. Keep a high-quality source.
- Trusting only the number: the final test is still listening on real devices.
Technical references
Modern LUFS and loudness workflows are based on recommendations such as ITU-R BS.1770 and EBU R 128. They were created to make perceived volume more predictable across broadcast and distribution environments.
A natural next step
After choosing a target, test the result on the devices your audience actually uses. For most creators, the best loudness setting is the one that remains clear on a phone, comfortable on headphones and consistent beside your other published content.
If you are still shaping the whole recording, start with the volume adjustment and normalization guide. If your main question is the final file, read the audio formats guide before exporting.
Keep learning
Related guides that continue the same editing workflow.