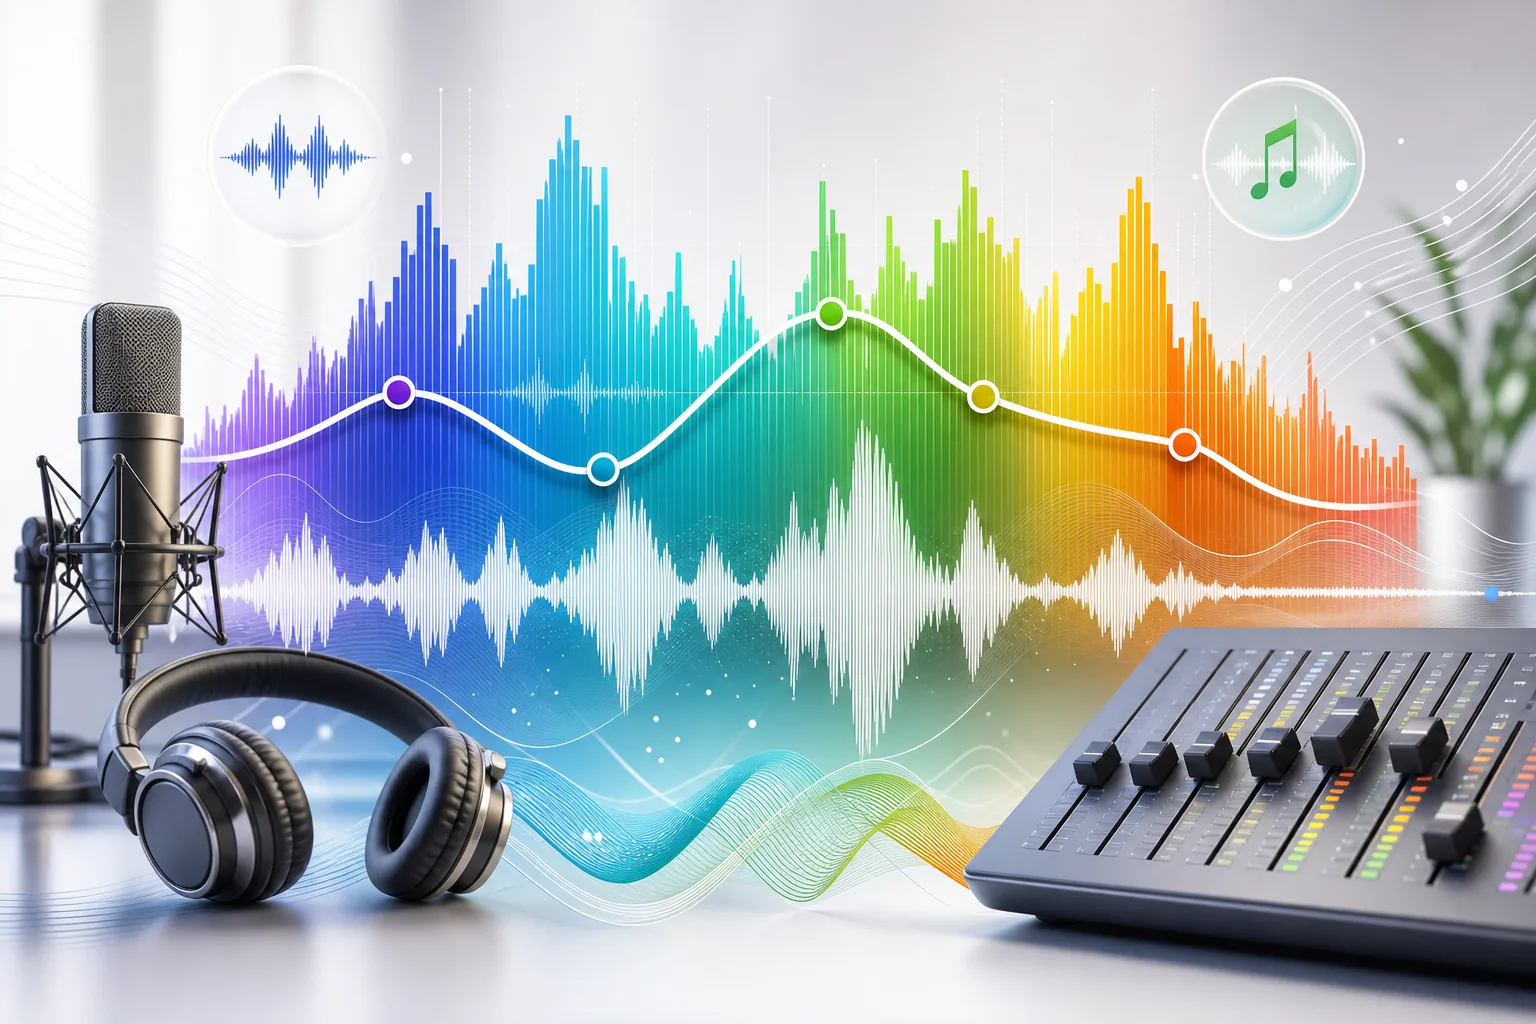
How to EQ Voice, Music and Podcasts Online
An online equalizer can solve very different problems: muffled speech, boxy podcasts, music without bass, distant lesson audio or phone recordings with harsh treble. The key is not treating EQ as a magic button, but as a set of small decisions about bass, mids and treble.
This guide complements our more technical article on how to equalize audio online. Here the focus is practical: which adjustment to try first, when to cut, when to boost, which frequencies to listen for and how to avoid making the result sound artificial.
Quick answer
- Muffled voice: cut a little around 200 to 400 Hz and test presence around 2 to 4 kHz.
- Podcast with low rumble: apply a high-pass cut around 70 to 100 Hz before raising volume.
- Music lacking weight: adjust bass gently around 80 to 160 Hz.
- Harsh audio: reduce 4 to 8 kHz before changing overall loudness.
- Phone recording: clean aggressive mids and do not try to invent sub-bass that was never captured.
Before EQ: listen for the real problem
The most common mistake is opening an equalizer and moving controls without knowing what is wrong. Before touching any band, listen through the file at a moderate level and ask: is it muffled, thin, nasal, harsh, muddy or distant?
That question prevents contradictory moves. If a voice is muffled, you may not need to “add brightness”; you may only need to cut excess low mids. If music lacks impact, the issue may be overall level or dynamics, not only bass.
When to use EQ, volume adjustment or noise reduction
Part of a good editing workflow is choosing the right tool. Equalization is not the first step for every audio problem. If the file is too quiet, use volume adjustment. If there is steady hiss, clean noise first. If the useful section is buried inside a long recording, cut before processing. EQ works best when the problem is tone: too much bass, closed speech, harsh treble or missing presence.
Think in layers. First comes organization: cut mistakes, remove long pauses and keep the right section. Then cleanup: reduce noise, hum or wind when needed. Then tone: equalize for clearer speech or more balanced music. Finally, set loudness and export.
| Perceived problem | First tool | Refine with EQ later? |
|---|---|---|
| Entire file is too quiet | Volume adjustment or normalization | Yes, if speech is also muffled or harsh. |
| Hiss, wind or steady hum | Noise reduction | Yes, after cleaning the main signal. |
| Closed or unclear voice | Equalizer | This is an ideal corrective EQ case. |
| Long file with useless sections | Audio cutting | Yes, after defining the final material. |
Practical frequency map
| Range | What it affects | Safe move |
|---|---|---|
| 20-80 Hz | Vibration, desk noise, wind and sub-bass. | Cut on speech and podcasts; preserve for music when useful. |
| 80-250 Hz | Body, warmth, weight and proximity. | Boost lightly; too much makes everything heavy and undefined. |
| 250-600 Hz | Boxy, closed or muddy tone. | Small cuts often open speech quickly. |
| 1-4 kHz | Intelligibility, presence and speech clarity. | Use carefully; too much becomes tiring. |
| 5-12 kHz | Brightness, air, sibilance and sharpness. | Reduce if “s” sounds or treble feel cutting. |
EQ recipes by audio type
The settings below are not fixed presets. Use them as starting points, adjust 1 to 3 dB at a time and always compare before and after at the same perceived volume.
The best way to use these recipes is to work in short cycles: make one move, listen, bypass it, listen again and only then decide if it actually helped. Ears adapt quickly to tone changes, so comparing with the original is more reliable than moving controls for several minutes.
Voice and podcasts
- High-pass: cut below 70 to 100 Hz to remove vibration and low rumble.
- Less boxiness: reduce 250 to 400 Hz slightly if the voice feels closed.
- More clarity: boost 2 to 4 kHz with moderation.
- Less sibilance: reduce 5 to 8 kHz if “s”, “sh” and “t” sounds are aggressive.
Finished music or music demos
- Bass: adjust 80 to 160 Hz in small amounts for weight without muddiness.
- Low-mid fog: cut 250 to 500 Hz if the mix feels covered by a blanket.
- Presence: move 2 to 5 kHz carefully to avoid harsh vocals, guitars or snares.
- Brightness: boost above 8 kHz only if the file does not already have obvious hiss.
Lessons, videos and narration
For educational content, the goal is intelligibility. The audience needs to understand every word on a laptop, phone speaker or simple headphones. Prioritize low-rumble cleanup, reduced muddiness and moderate speech presence.
Phone recordings
Phones often capture voice with little body, strong mids and sharp treble. Instead of trying to create artificial bass, remove noise below 80 Hz, soften aggressive areas and accept the character of the microphone. If there is background noise, start with the audio noise reduction guide.
Diagnosis by symptom: what to try first
When you do not yet know which frequency causes the problem, start with the audible symptom. The table below does not replace listening, but it prevents random trial and error.
| Symptom | Initial test | Watch out |
|---|---|---|
| Muffled voice | Cut 250-400 Hz and test a light 2-4 kHz presence boost. | Do not overboost treble to compensate for muddy lows. |
| Thin voice | Try a small 120-220 Hz boost. | If the microphone did not capture body, heavy boosts sound fake. |
| Nasal tone | Look for excess between 700 Hz and 1.2 kHz. | Cut gently so speech remains intelligible. |
| Sharp treble | Reduce 4-8 kHz and compare at equal volume. | Too much cutting can make audio lifeless. |
| Muddy music | Use a gentle 200-500 Hz cut and avoid excessive bass. | The original mix may limit how much final EQ can fix. |
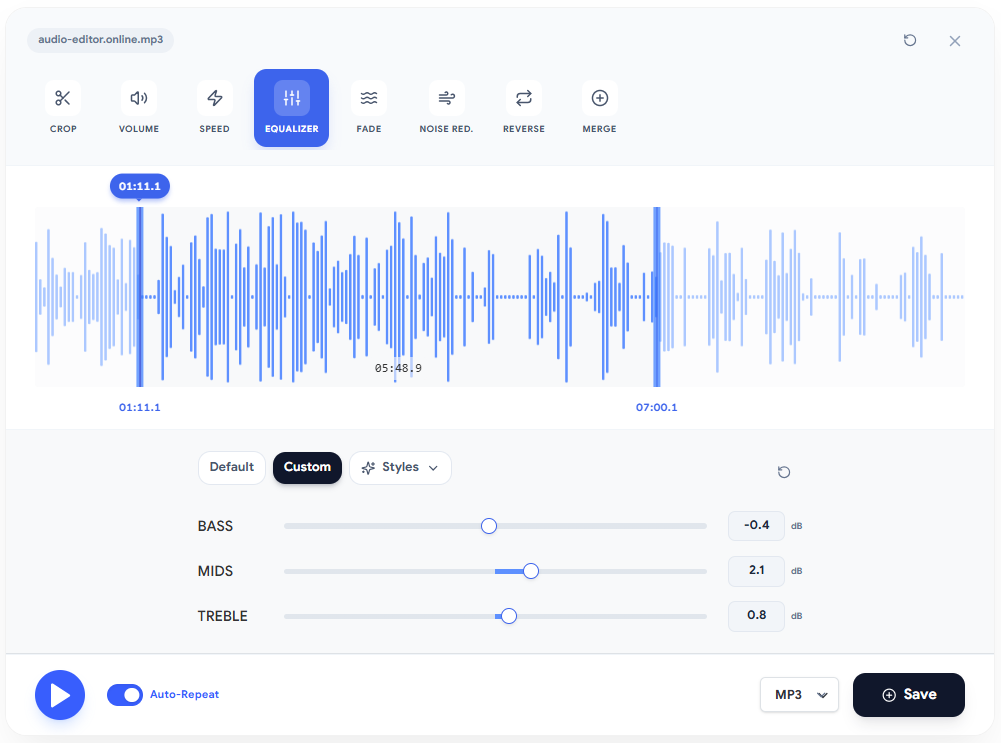
Recommended online equalizer workflow
- Open the online audio equalizer and upload a copy of your audio.
- Listen to 20 to 30 seconds with normal speech and one louder section.
- Apply corrective cuts first: low rumble, boxiness or harsh treble.
- Only then make small boosts for clarity, body or brightness.
- Compare before and after without being fooled by volume changes.
- Export a final copy and keep the original untouched.
Three practical adjustment examples
1. Podcast recorded in a small bedroom
Common symptom: close speech with exaggerated bass and a closed small-room sound. Start with a high-pass filter around 80 Hz. Then reduce 250 to 350 Hz by 2 or 3 dB to ease boxiness. If speech loses definition, add light presence around 2.5 to 3.5 kHz.
Avoid boosting heavily above 8 kHz in this scenario. Small rooms often have reflections and noise that become more obvious when treble rises. The goal is clarity, not artificial brightness.
2. Lesson recorded on a phone
Common symptom: understandable speech with hard mids and little body. Cut low noise below 80 Hz, search for harshness between 3 and 6 kHz and reduce only what is necessary. If the voice feels thin, try a small lift around 150 Hz, but do not try to turn a phone into a studio microphone.
For online lessons, the best result is usually stable and comfortable audio. A simple but clear sound is better than aggressive EQ that becomes tiring after ten minutes.
3. Music demo without impact
Common symptom: the track feels small beside other songs. Before boosting bass, check whether final loudness is simply too low. Then test small adjustments around 80 to 160 Hz for weight, a light 300 Hz cut if it is muddy and moderate brightness above 8 kHz only if there is no obvious hiss.
On finished music, final EQ should stay subtle. If you need 8 or 10 dB moves to make the file work, the issue probably lives in the original mix, not only the final equalizer.
Test on real devices
A setting that sounds excellent on large headphones may become thin on a phone. Bass that feels comfortable on a laptop may become muddy on small speakers. After exporting a preview, listen in at least three conditions: headphones, phone speaker and laptop or small speaker.
Do not try to make the file perfect everywhere. The goal is for it to remain understandable, free from painful treble and not overloaded with bass. For podcasts, lessons and narration, intelligibility beats impact.
Mistakes that make audio worse
- Boosting everything: if every control goes up, you probably wanted volume, not EQ.
- Using a V curve on every file: big bass and treble can sound exciting at first but mask speech and become tiring.
- Equalizing noise: if the issue is hiss, hum or wind, clean it before boosting frequencies.
- Exporting MP3 repeatedly: test short sections and export the final file only when satisfied.
- Ignoring final loudness: after EQ, also check the LUFS audio volume guide.
When not to keep pushing the equalizer
There are limits. Equalization does not recover information lost to clipping, it does not perfectly remove room echo and it does not turn a bad microphone into professional capture. It can soften some symptoms, but it cannot rebuild what was never recorded.
If the audio is distorted, go back to an unclipped version. If the room has too much echo, improve the next recording: move closer to the microphone, choose a more absorbent space and avoid hard nearby surfaces. If noise is constant, clean it before equalizing. That care improves quality far more than stacking EQ boosts.
Pre-publish checklist
- Does the audio still sound natural compared with the original?
- Is the voice clearer without becoming sharp?
- Does the bass help, or is it only taking space?
- Does the file work on headphones, laptop speakers and a phone speaker?
- Was final volume checked after equalization?
Next step
If your goal is tone correction, start with the online audio equalizer. If you are still preparing the file, combine EQ with precise cuts, volume adjustment and the right export format.
For SEO and for the reader, the best page is not the one that promises a universal preset. It is the one that helps someone recognize the problem, apply a small adjustment and leave with better audio. Use this guide as a workflow, test calmly and save alternate versions when you are unsure.